- The Healthy Dose
- Posts
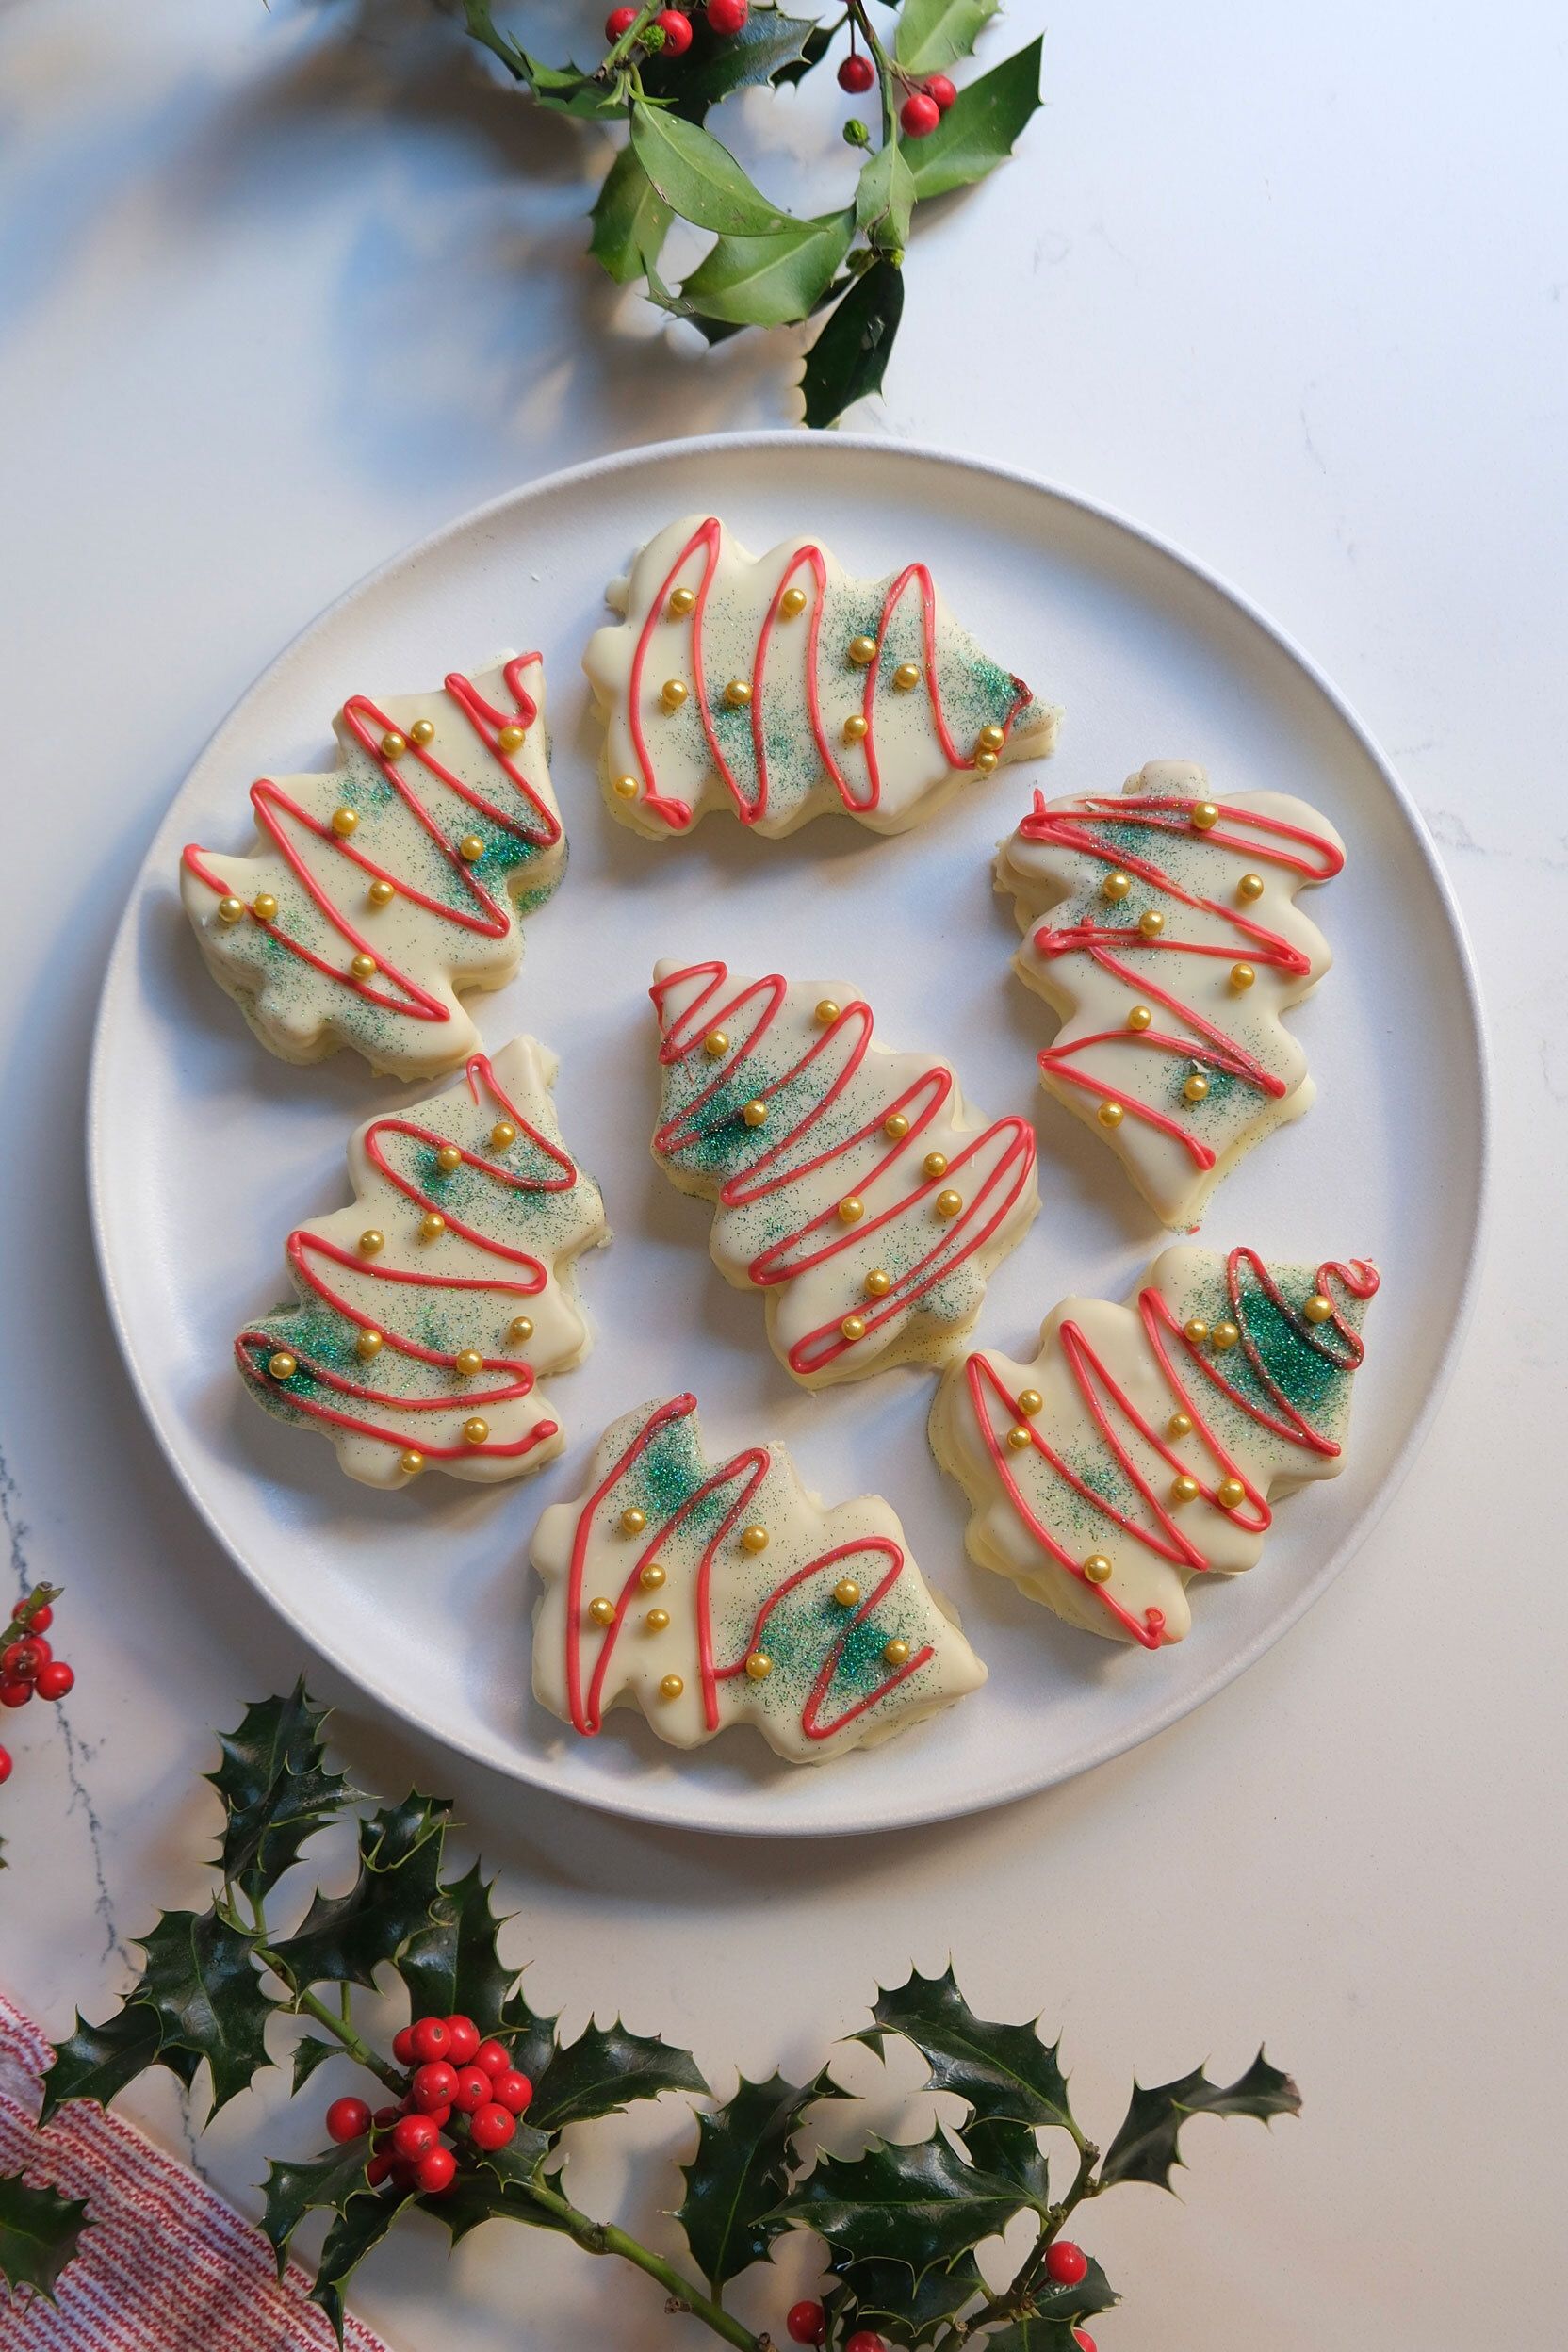
- Little Debbie-Style Christmas Tree Cakes (Gluten-Free)
Little Debbie-Style Christmas Tree Cakes (Gluten-Free)
A festive, gluten-free twist on a classic treat - perfect for your holiday table.
Evelina Melnikova - Baking and Pastry Chef
December 18, 2025
Want more recipes like this? Get access to 500+ gluten-free recipes
There’s something almost magical about a cake shaped like a Christmas tree, especially when it carries decades of holiday nostalgia in every bite.
Today’s Christmas special comes straight from our community.
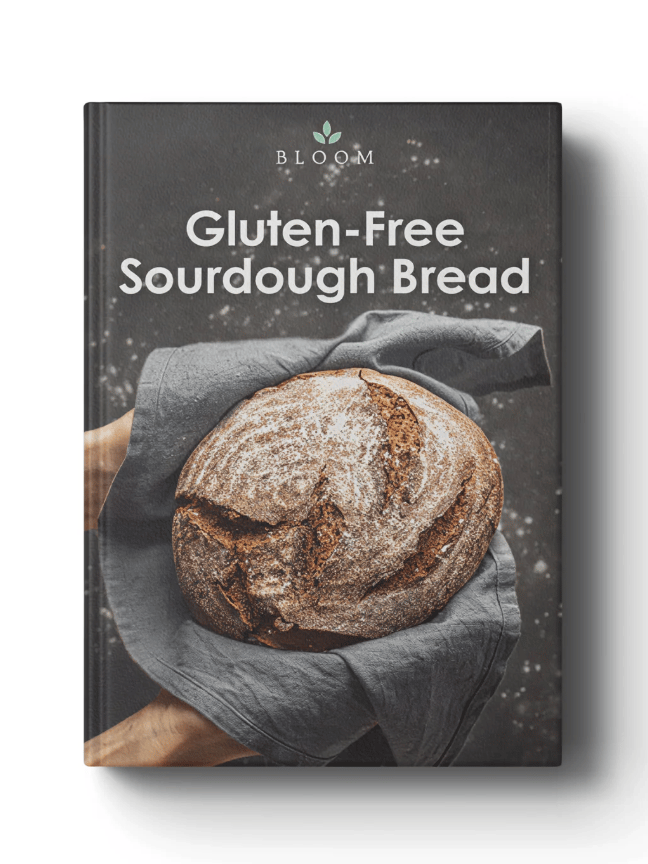
Our most loved, best-selling GF Sourdough recipe collection - and we are gifting it for free as our way of giving back during the holidays.
🎁 The BIG Christmas Offer
When you join the Gluten-Free Sourdough Masterclass,
you’ll receive the physical hardcover Gluten-Free Sourdough Cookbook for FREE.
A real, beautifully printed hardcover book, shipped straight to your door.
Why this matters
If you’ve ever struggled with:
Flat or gummy gluten-free sourdough
Inconsistent results
Recipes that almost work
This masterclass walks you step-by-step through the exact method we use at Bloom, so you can bake confident, bakery-style gluten-free sourdough at home.

And the hardcover cookbook?
It’s the one people keep on their counter and bake from again and again.
As part of our 12 Days of Christmas, this is a limited, one-time offer, and physical book copies are extremely limited!
Get the Gluten-Free Sourdough Masterclass + FREE Hardcover Cookbook Today

Little Debbie’s Christmas Tree Cakes first appeared in the 1980s, but their charm reaches back to old Southern holiday sponge cakes shared during winter gatherings.
Over the years, this simple idea—a soft cake dressed in sweet icing—evolved into one of the most nostalgic treats of the season.
What makes these cakes so loved isn’t just the sugary drizzle or the cheerful red stripes. It’s the feeling they bring back: childhood excitement, holiday mornings, and the magic of unwrapping something special.
Today, creating a gluten-free version adds a new layer to that story. It lets everyone, no matter their dietary needs, enjoy the same soft bite, creamy filling, and festive sparkle that made the original iconic.
This modern take captures the joy of the classic while offering a fresh, inclusive twist. One taste, and you’ll feel both the history and the holiday spirit wrapped into every snowy, tree-shaped slice.CLAIM THE CHRISTMAS OFFER
And here is how to get access to our full selection of 500+ more recipes like this…
Yield:
8-10 Cakes
Total Time:
Prep Time: 25 minutes
Bake Time: 10 - 15 minutes
Total Time: ~ 40 minutes
Ingredients:
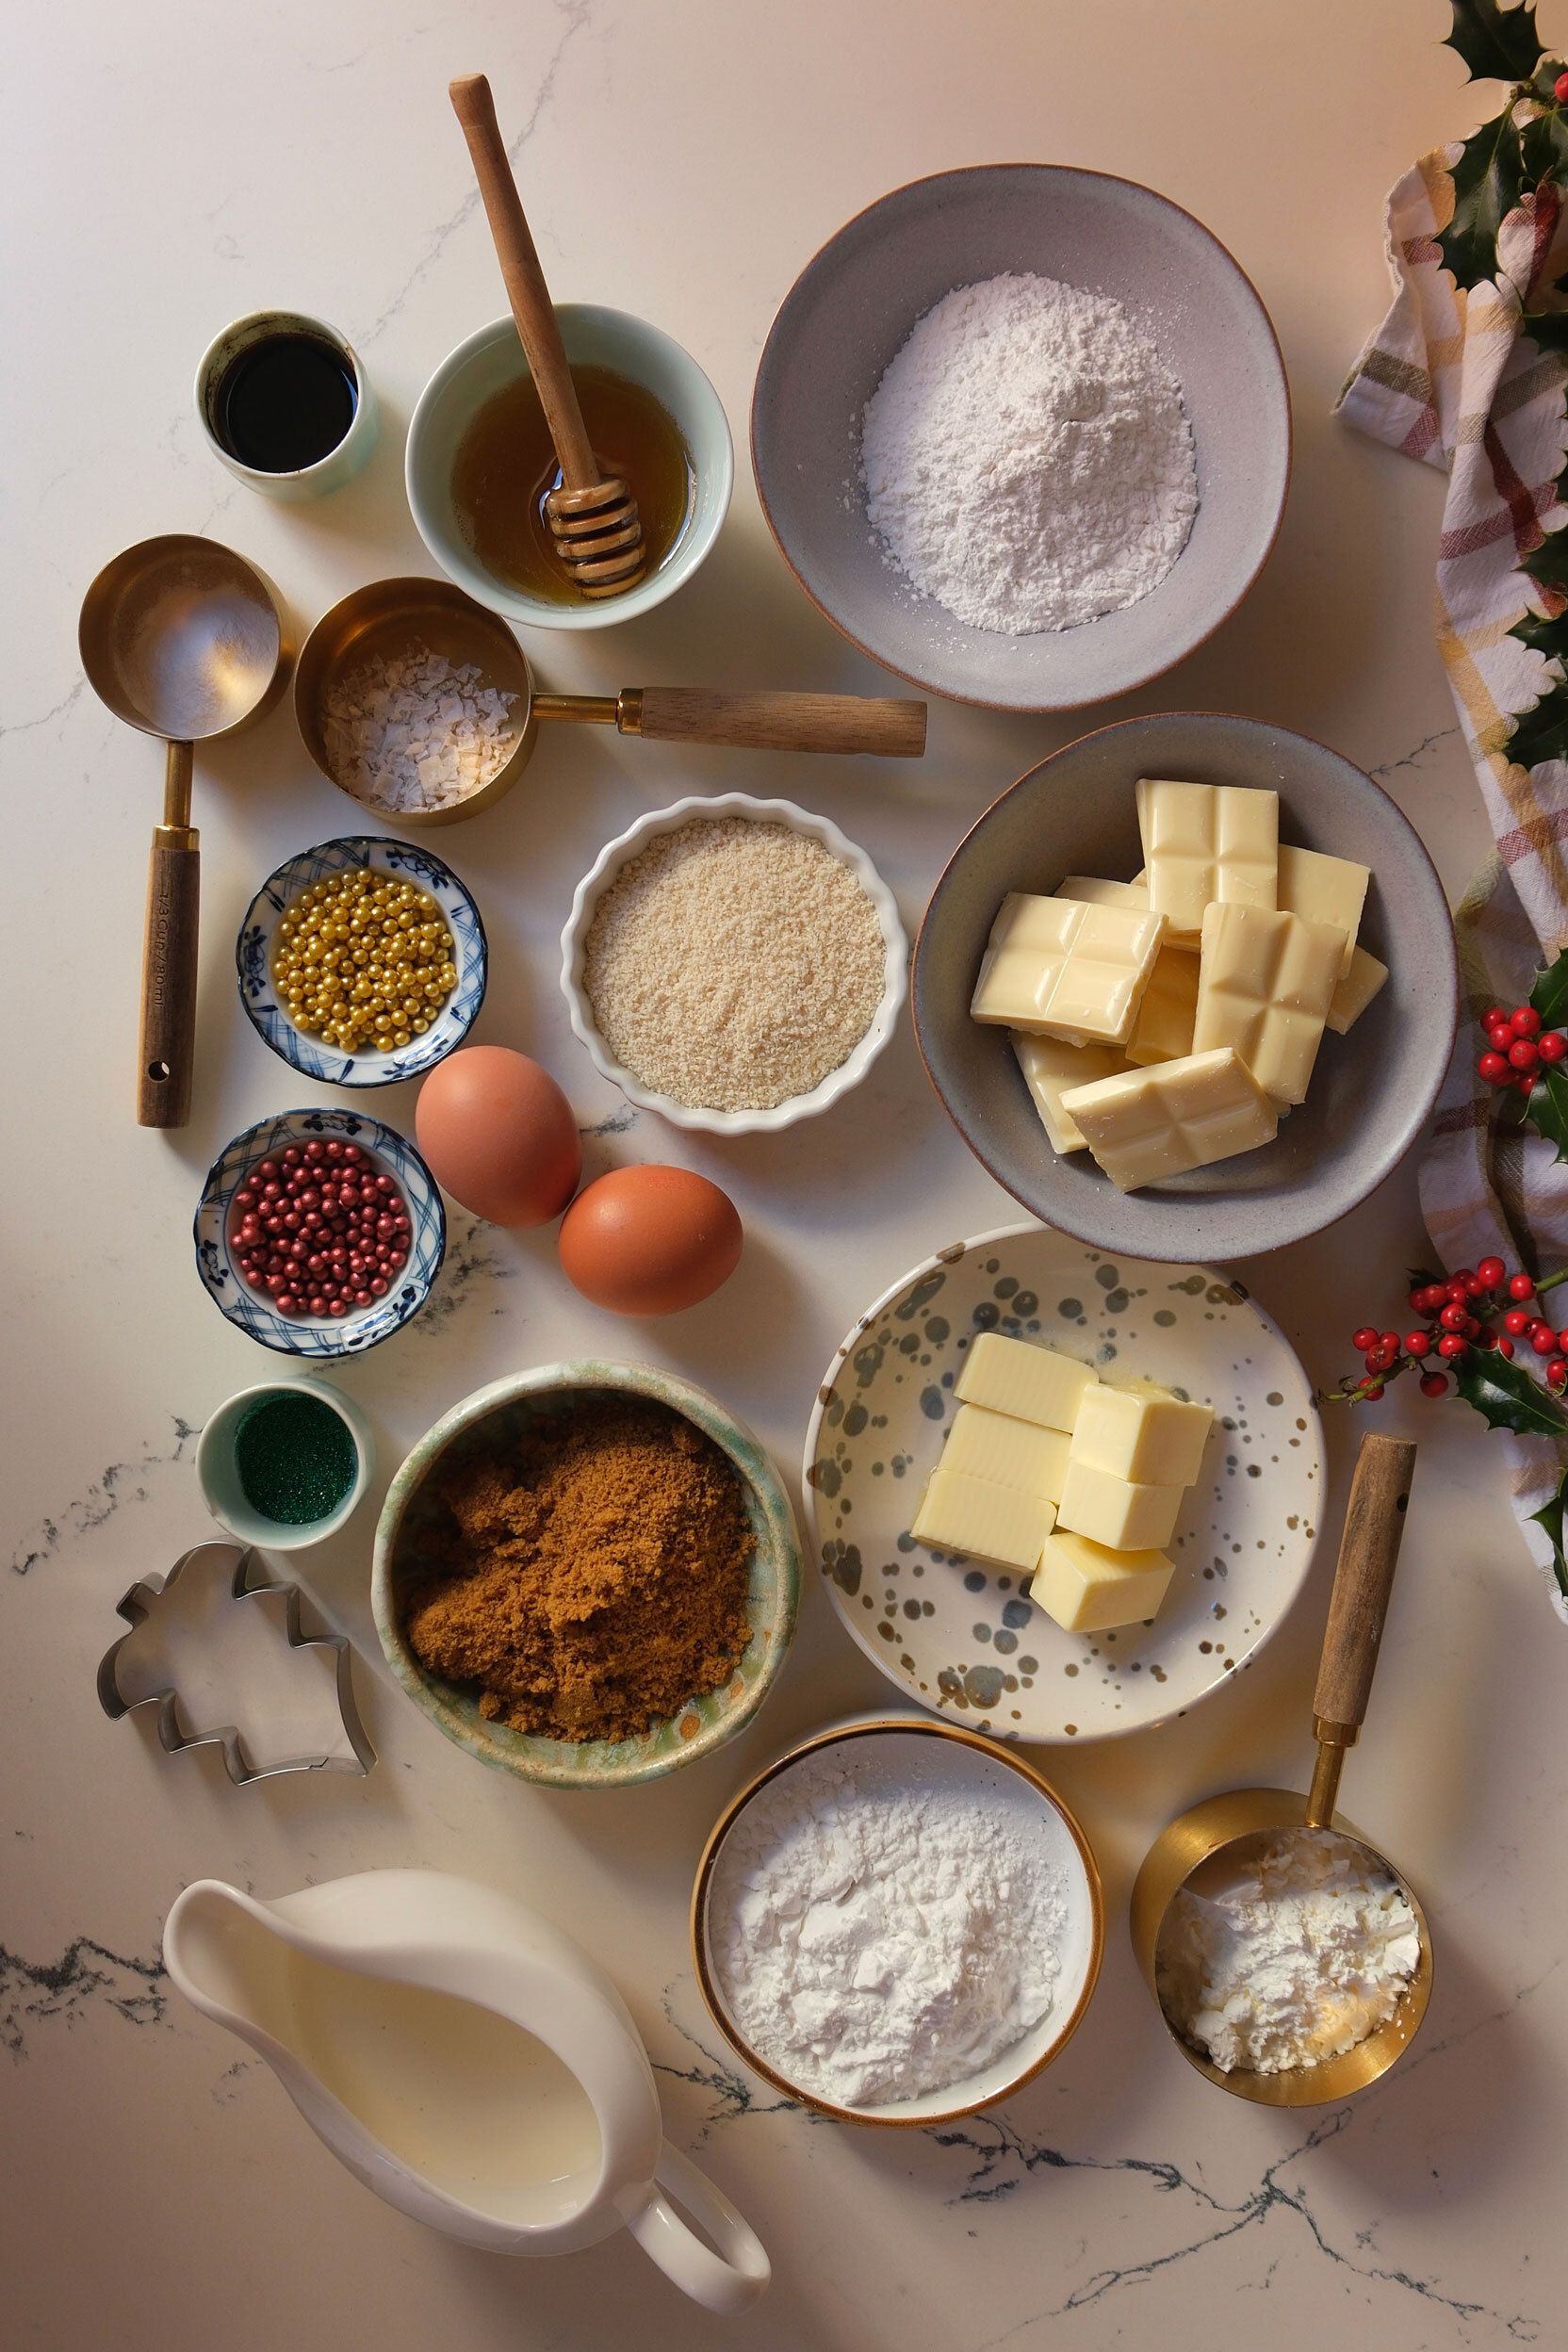
Cake Batter
• Brown rice flour – 40 g
• Potato starch – 50 g
• Cornstarch – 30 g
• Tapioca starch – 30 g
• Almond flour – 30 g
• Baking powder – 2 tsp
• Salt – 2 g
• Butter – 80 g (softened)
• Coconut sugar – 160 g
• Eggs – 2
• Vanilla extract – 1½ tsp
• Milk – 123 g
Cream Filling
• Coconut cream – 150 g
• Cornstarch – 1½ Tbsp
• Coconut sugar – 30 g
• Egg yolks – 2
• Vanilla extract – ½ tsp
White Chocolate Coating & Decoration
• White chocolate – 250g
• Olive Oil - 2 Tbsp
• Edible glitter or sprinkles – as desired
• Red food coloring – a few drops (for chocolate piping)
Instructions:
1. Cake Batter – Method


Gather your required ingredients.
Preheat oven to 175°C.
In a stand mixer, beat butter and coconut sugar until light and fluffy.
Add eggs, then vanilla. Mix well.
In a separate bowl, whisk together all dry ingredients.
Alternately add dry mix and milk to the butter mixture in 2–3 rounds, mixing until smooth.

Spread the batter evenly into a parchment-lined rectangular baking pan.
Bake for 10–15 minutes or until golden and springy to the touch.
Let the cake cool completely before cutting.
Cut cooled cake into tree shapes using a cutter or paper template.
2. Cream Filling – Method

Whisk all ingredients in a small saucepan.
Heat over medium, stirring constantly until thick and bubbling.
Simmer for 2–3 minutes, then remove from heat.
Let cool completely before assembling.

Pipe a layer of coconut cream filling onto half of the cooled tree-shaped cake pieces.
Sandwich two layers with the cream filling.
Chill for 15–20 minutes to firm up.
3. White Chocolate Coating – Method

Melt white chocolate in a double boiler or microwave.
Add olive oil and mix well.
Reserve a small amount and tint with red food coloring for the ribbon design.
Dip each filled cake sandwich into the melted white chocolate to fully coat.
Place on a wire rack or parchment and allow to set.
Drizzle with red chocolate to create the ribbon effect.
Sprinkle with glitter or sprinkles while still wet.